Start with the authority, not the editor
A clean photograph is useful only when it follows the route that receives it. A passport office, visa centre and online renewal service can ask for different photo sizes, file types, capture methods and editing limits.
That is the central decision in a home workflow: first identify the country and application type, then take the clearest original photograph you can. Editing comes later, and only within the controls that the selected authority allows.
Why two minutes on the photo is worthwhile
The U.S. Department of State says unacceptable photographs are the number one reason it puts online passport applications on hold. That does not mean every country uses the same review process, but it shows why a quick check before submission is worth more than trying to repair a weak source after the portal reports a problem.
Look at the actual face, not just the colour or general appearance of the image. Focus, glare, head position, facial detail and the saved file can each create a separate issue.
Prepare the room before taking the photo
Start with the light rather than the camera. A window in front of the person gives a softer result than a ceiling light or direct flash, because light coming mainly from above or one side can leave shadows around the eyes, nose or wall.
Leave some distance between the person and the wall instead of standing directly against it. The UK home guidance uses about 50 centimetres from the background and about 1.5 metres between the subject and photographer. Those figures are useful for that route, not a universal measurement for every application.
Keep the camera close to eye level and hold it straight. Another person can frame the shot more easily than a close selfie because the subject can look at the lens without watching the screen or stretching an arm.
- Use a plain light background with no texture, pattern or object behind the head.
- Face a window or soft light so both sides of the face remain visible.
- Leave a gap from the wall to reduce a dark outline behind the head.
- Move hair away from the eyes and remove accessories that cover required facial detail.
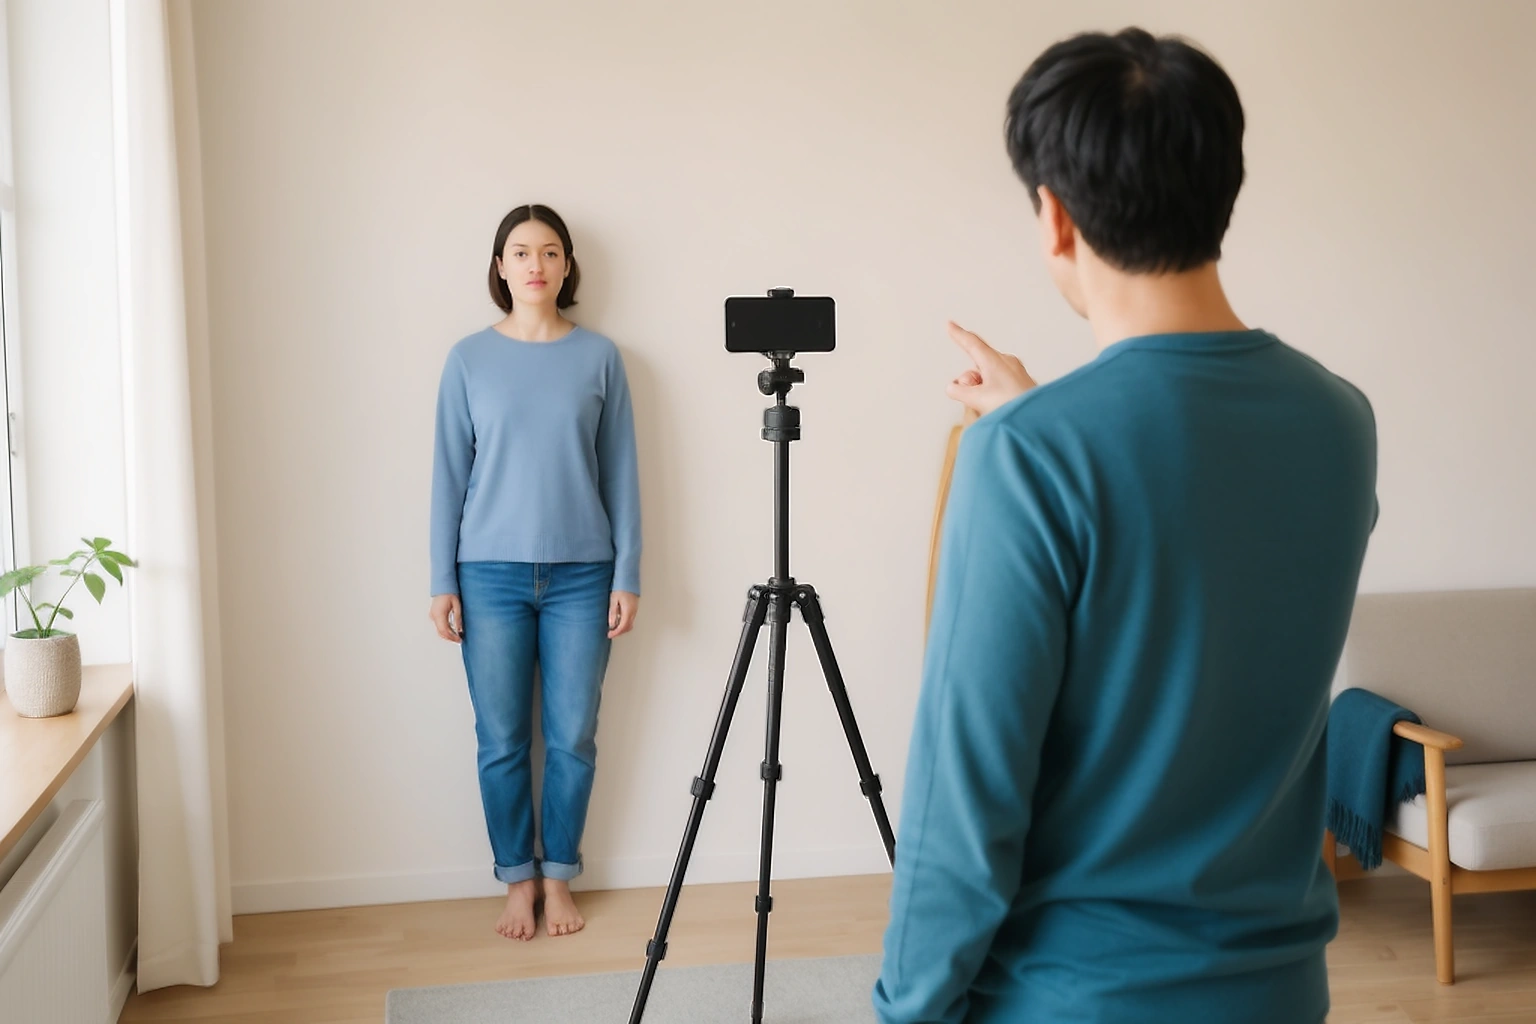
Check the setup before the first frame
Before taking the final set, look at a test frame on the phone. The room can feel evenly lit while one side of the face is darker or a shadow is visible behind the head.
- Look at both sides of the face and check whether one side is noticeably darker.
- Check the wall around the head for a visible shadow or bright patch.
- Move hair away from the eyes and outer edges of the face where the document requires them to remain visible.
- Remove objects behind the shoulders, including frame edges, curtain lines and wall patterns.
Fix the room before taking several photographs. That saves time because the same lighting problem will appear in every frame.
Take several photos before choosing one
Passport photos sometimes fail because of small differences that are easy to miss on the camera screen. One frame can catch a blink, another can be slightly out of focus and another can show a small head tilt. Several choices let you select a genuinely clean source instead of trying to repair a weak one.
Leave portrait mode, beauty filters and face enhancement switched off. Portrait mode can soften hair and shoulder edges, while beauty processing can change skin texture or facial detail. The U.S. Department of State specifically says passport photos must not be changed with apps, filters or artificial intelligence.
Open the best candidates at full size before deciding. Check the eyes first, then look around the hairline, ears and chin for motion blur or missed focus. A dark but sharp source is easier to retake under better light than a blurred photograph is to repair without changing the image.
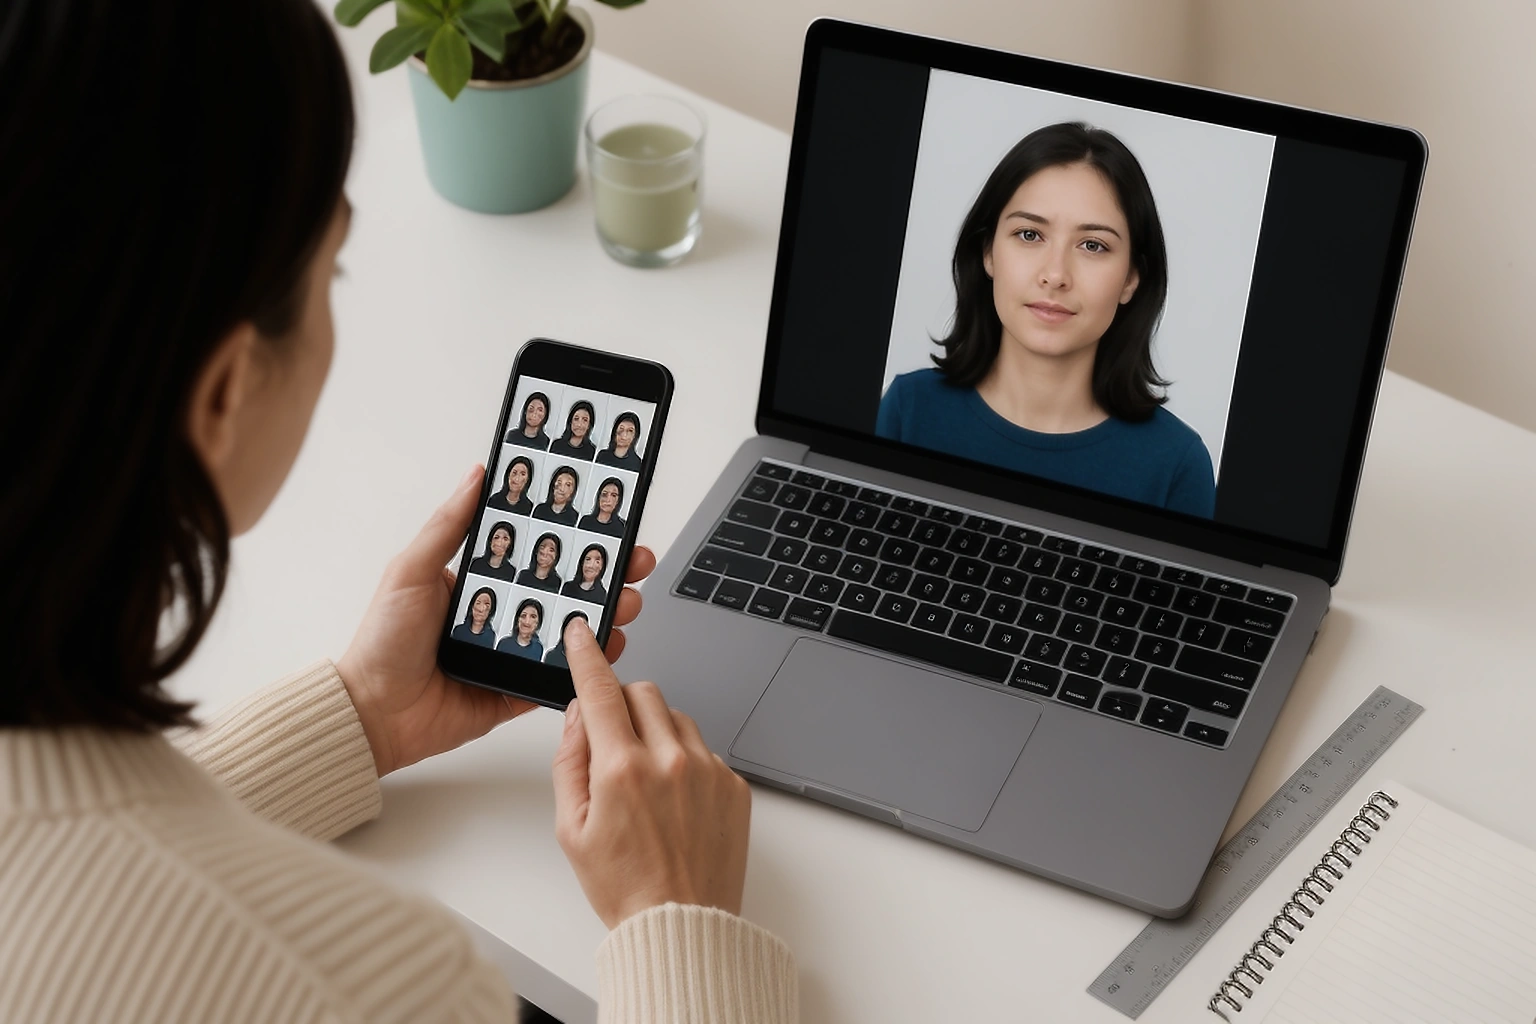
Keep your expression and face natural
Looking straight at the camera does not mean every country uses exactly the same expression rule. The UK asks for a plain expression with the mouth closed, while Canada also requires a neutral expression. U.S. online renewal guidance allows a neutral expression or natural smile but advises against showing teeth.
Because these details differ, do not use an old passport photo as your model. Check the current requirement for the document you are preparing. Hair should not hide the eyes or important facial edges, and glasses can also be treated differently depending on the authority.
U.S. passport guidance normally requires eyeglasses to be removed. Canada can accept ordinary glasses when the eyes remain clearly visible and there is no glare. A general home photo guide therefore should not tell every reader that glasses are either allowed or prohibited without first identifying the document.
Choose the exact passport or visa requirement before editing
A familiar passport photo size is not a worldwide standard. Countries can use different print dimensions, digital dimensions, head size rules, background colours and file limits. The application method can also change the requirement within the same country.
Canada is a good example. Its printed passport photos measure 50 mm by 70 mm, while online renewal uses a digital photograph with a 3:2 aspect ratio, dimensions between 1,200 × 1,800 and 3,000 × 4,500 pixels, a file size between 200 KB and 5 MB, and a chin to crown measurement between 45% and 50% of the image height. The UK digital route asks for at least 600 pixels wide and 750 pixels high, with a file size between 50 KB and 10 MB.
Selecting the real document profile before making changes prevents a common mistake: creating something that looks like a passport photo but does not match the application you are about to submit. Use the Passport Photo Requirements guide as a starting point, then confirm the current official notice for your route.
Examples of different digital requirements
| Requirement | UK digital passport | Canada online passport renewal |
|---|---|---|
| Minimum image size | 600 × 750 pixels | 1,200 × 1,800 pixels |
| Maximum image size | No matching fixed maximum on the cited page | 3,000 × 4,500 pixels |
| File size | 50 KB to 10 MB | 200 KB to 5 MB |
| Important processing rule | Photo must be unaltered | Photo must not be altered and must come directly from the original camera file |
These figures are examples, not a universal passport specification. Open the current instructions for the country and application type you selected before exporting a file.
Know the difference between preparation and prohibited alteration
Photo editing rules are not consistent across passport systems. A crop, background replacement or brightness adjustment can seem harmless because the person’s identity has not intentionally changed, but some authorities still classify these changes as alterations.
Canada lists changes to brightness, contrast and sharpness as alterations and also prohibits cropping around the head and shoulders or replacing the background. The UK requires an unaltered digital passport photo. For U.S. online renewals, the government asks for the original digital photograph and provides its own repositioning and crop controls during the application.
For that reason, let the selected document rules decide which controls you use. If the authority asks for the original image, correcting the photograph until it looks better can create a new problem even when the result looks visually cleaner.
Passport rules are not limited to what the image looks like. Canada requires a commercial photographer and can reject edits that are hard to notice. The U.S. online renewal service asks for the original digital photo but provides its own crop control during the application. Visual appearance alone cannot tell you whether a file follows the submission process.
Retake the photo when the source itself is wrong
Some problems belong to the camera rather than an editor. If the eyes are out of focus, the head is cut off, glare covers the eyes or part of the face is hidden, another photograph gives you real visual information instead of asking software to recreate what the camera missed.
The U.S. Department of State specifically tells applicants not to digitally correct red eye and instead recommends taking another photo with natural lighting. A retake takes another minute, but it protects the photograph from becoming an altered representation of the applicant.
| sometimes retake | Check the document rules before changing |
|---|---|
| Eyes or face are blurred | Crop or repositioning |
| Head is cut off | Background adjustment |
| Strong glare covers the eyes | Brightness or contrast |
| Hair or another object hides required facial detail | File compression or format conversion |
The right column is not an automatic list of permitted edits. It is a reminder to read the selected route before changing the file.
Phone settings that can spoil a passport photo
Modern phones process an image before you open an editing app. Portrait mode can blur the boundary around hair, while beauty or face smoothing can change skin texture. Strong automatic processing can also create an unnatural result when the face and background have very different brightness.
Use the normal photo mode and turn off optional appearance filters that change the face. You do not need to disable every automatic camera feature. The goal is a clear, natural photograph rather than a portrait style image.
Avoid digital zoom when there is enough room to move the camera. Most of the time, moving slightly closer preserves more detail than enlarging part of the camera sensor image, but keep enough distance to avoid the distorted look of a close selfie.
Can you take your own photo as a selfie?
A selfie is not the best starting point even when the application allows a photograph taken at home. Holding the phone close to the face can change perspective, make positioning harder and encourage the person to look at the screen rather than directly into the camera.
If possible, ask another person to take the photograph from farther away while the camera stays close to eye height. The UK Passport Office describes a home setup where another person stands about 1.5 metres from the subject.
If nobody can help, place the phone securely at eye height and use a timer. That is a better photographic setup than holding it at arm’s length. Whether the resulting image can actually be used still depends on the passport authority.
Taking a passport photo of a baby or young child
Photographing a baby is different because some authorities relax the normal expression or eye requirements for young children. In the UK, children under six do not need a plain expression or have to look directly at the camera, while babies under one do not have to keep their eyes open. The baby still needs to appear alone in the photograph.
For a baby who cannot sit upright, UK guidance suggests laying the child on a plain light coloured sheet and taking the photo from above. A supporting hand can be used when necessary, but it must not appear in the photograph.
These exemptions are country specific. Open the child photo instructions for the selected passport instead of applying adult rules automatically. Canada, for example, requires children’s passport photos to be taken in person by a commercial photographer.
The same photo can need a different workflow
Imagine that two people take similar photographs at home against a plain wall. One is renewing a UK passport online and the other is preparing a Canadian passport application. The photographs can look equally suitable, but the next step is not the same.
The UK applicant can follow the official home photo instructions and upload an unaltered digital photograph. The UK service says not to crop a photograph taken on your own device because the application handles the crop. The Canadian applicant should not continue with the home photograph for a standard passport photo because Canada requires the image to be taken in person by a commercial photographer.
This is why document selection needs to happen before editing rather than at the end. Photo quality can be judged visually, but acceptability depends on the issuing authority.
Keep the original file until the application is finished
Keep the original photograph untouched even if the application eventually needs another file. It gives you a clean source to return to when something goes wrong, instead of repeatedly saving a version that has already been resized or compressed.
Repeated transfers can also change image quality. The U.S. Department of State warns against sending the image by text message because this can reduce its quality. Canada asks for its online renewal image to be saved directly from the original camera file and does not accept an altered copy.
Keep the original camera file separately and give exported versions clear names. If an upload fails, you can then identify whether the problem came from the source photograph, the export or the application requirement.
Check the actual file before uploading or printing it
The editor preview is only a representation of the working image. The file saved to your device is what the application portal or printer receives, so check that file separately before using it.
Open its properties and confirm the format, dimensions and file size against the selected requirement. Then open the image itself and make sure it has not become visibly soft after export. Do not take a screenshot of the finished photo because that creates another image with different dimensions and possibly different compression.
For a printed application, make sure the paper size selected in the printer matches the prepared sheet and automatic options such as “fit to page” have not changed the scale. Print one test sheet first and measure a photograph before cutting the remaining copies. Use the passport photo print sheet tool when the selected route accepts a prepared sheet.
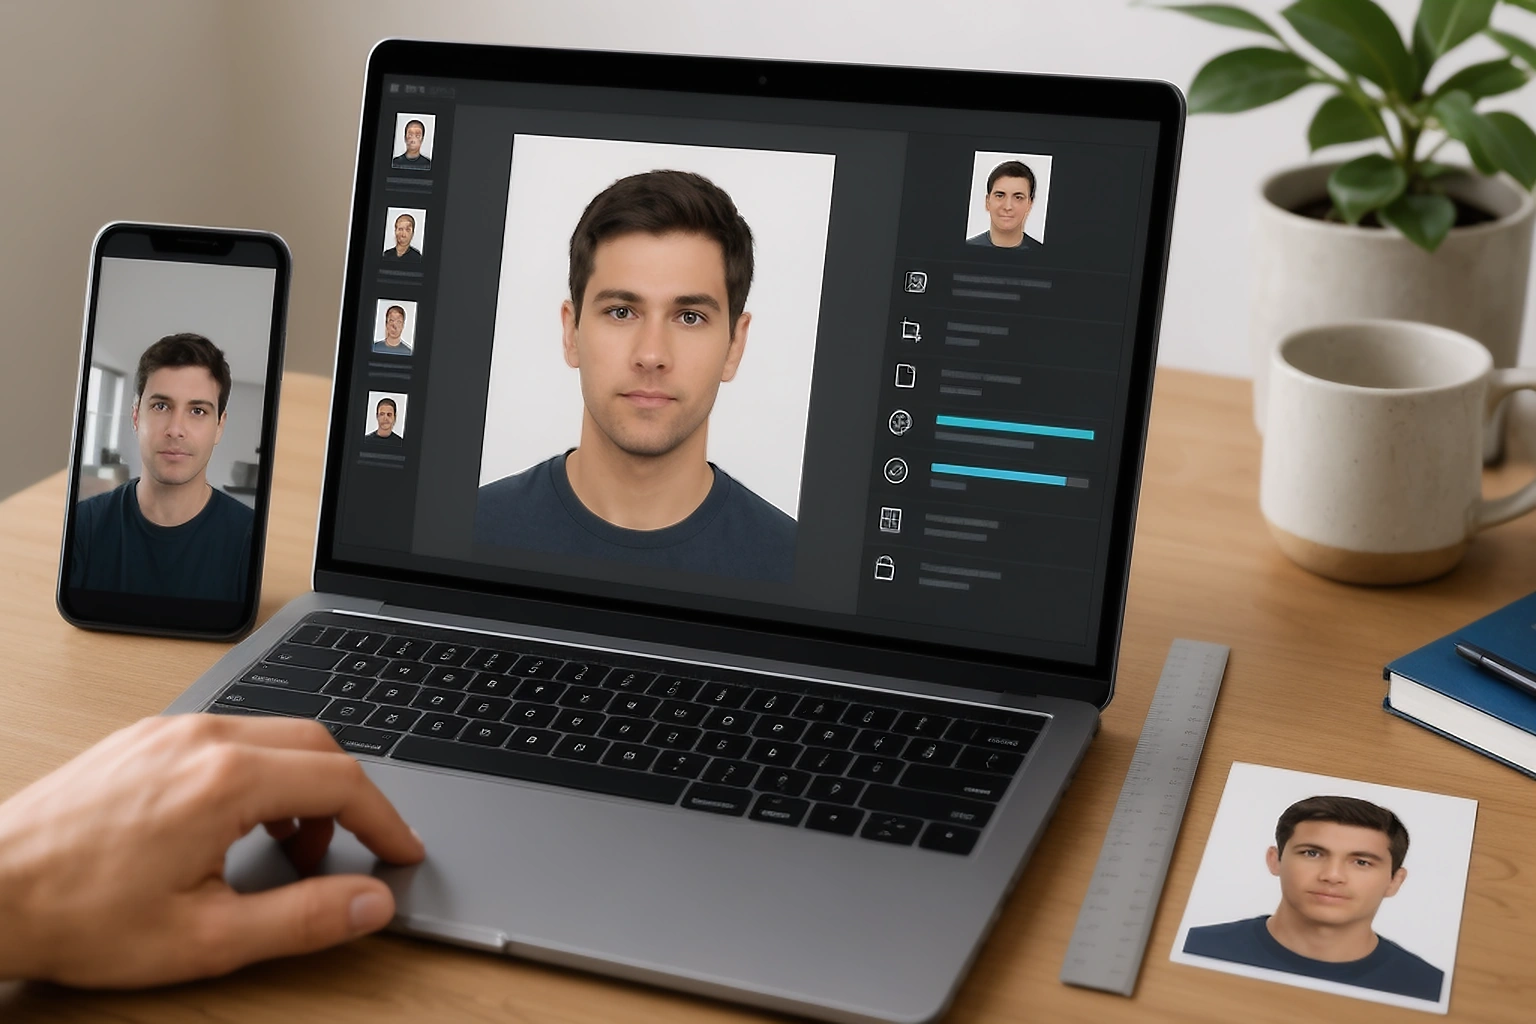
Keep the original until the application is accepted
Keep the original photograph and the exact file you submitted until the photo has been accepted. If the portal reports a problem, save the rejection message or note its wording before changing anything. An error about dimensions needs a different response from an error about facial position or image quality.
Avoid creating several files with names such as final, final2 and finalnew. Use simple names that tell you which version was submitted, because otherwise it is easy to upload an older copy by accident.
Once the application is complete, remove passport photo files that you no longer need from shared computers, temporary download folders or services where you do not want an identity photograph stored.
sometimes asked questions
Can I take a passport photo at home?
Yes for some applications, but not all. The UK publishes instructions for taking a digital passport photo at home, while Canada requires passport photographs to be taken in person by a commercial photographer. Always check the selected country's current instructions first.
Can I use my phone for a passport photo?
A phone camera can produce a suitable source image where home capture is allowed. Use the normal camera mode and avoid appearance filters, portrait blur or processing that changes how the face looks. The final decision still belongs to the issuing authority.
Can I change the background to white?
Do not assume that you can. Canada treats changing a passport photo background as an alteration, and the United States also prohibits digitally altered passport photographs. Capture the required background properly when possible and follow the selected document rules.
Can I crop a passport photo myself?
It depends on the application. The United States online renewal service lets applicants reposition or crop the photograph inside the official application, while the UK tells people using their own digital photograph not to crop it because the application handles that step.
Should I smile in a passport photo?
Expression rules are not identical worldwide. The UK and Canada require a plain or neutral expression with the mouth closed. U.S. online renewal guidance allows a neutral expression or natural smile but tells applicants to avoid showing teeth.
Can I use an AI generated or AI edited passport photo?
Do not use artificial intelligence to invent or modify facial detail for an official identity photograph. The United States and Canada explicitly prohibit AI altered passport photos, and several authorities require the submitted photograph to remain unaltered.
Official sources checked on 30 August 2026
The guidance in this article was checked against the following public authority pages. Requirements can change, so open the relevant source again before submission.
Official guidance checked: August 2026.
Prepare the source the selected application can use
A home passport photo workflow begins with the current authority instructions, a clear original photograph and a room that does not create shadows or glare. After capture, keep the original and prepare the output around the exact route instead of applying one generic passport photo setting.
When a country or application requires a commercial photographer, a specific print process or an unaltered source, follow that instruction. PassportPhotoBox can help with preparation where the selected route permits it, but the issuing authority makes the final acceptance decision.
Passport photo editing rules differ by country. Some authorities allow a photograph taken at home, while others require a professional photographer or prohibit changes such as background replacement, cropping or brightness correction. Select your document first and use its current official requirements as the final reference.
Open the passport photo editor
Choose the document route first, then use only the preparation options that its current instructions permit.