What passport photo size actually includes
People sometimes ask a photo studio for a “passport size photo” without naming the country or application. That describes a type of document photo, not one fixed width and height.
The outside frame is only one part of the requirement. Some authorities also measure the face from the chin to the crown of the head, while online portals can add pixel, file size, format and image origin rules.
When you check a requirement, separate these values:
| Requirement | What it describes | Example |
|---|---|---|
| Physical width and height | The outside frame of the printed photograph | 35 × 45 mm |
| Face height | The distance from the chin to the crown of the head | 31 to 36 mm |
| Pixel dimensions | The width and height of the digital file | 1,200 × 1,800 pixels |
| File size | How much storage the digital file uses | 200 KB to 5 MB |
A photo can have the correct outside dimensions and still fail because the face is too small, the image is blurry or the file exceeds the upload limit.
Passport photo conversion table
All rows below use width × height. Some official pages write measurements as height × width, so check the order before entering values into a tool.
The pixel values are mathematical conversions at 300 DPI. They are not automatically official upload requirements.
| Size | Centimeters | Inches | Calculated pixels at 300 DPI | Aspect ratio |
|---|---|---|---|---|
| 35 × 45 mm | 3.5 × 4.5 cm | 1.38 × 1.77 in | 413 × 531 px | 7:9 |
| 51 × 51 mm | 5.1 × 5.1 cm | 2.01 × 2.01 in | 602 × 602 px | 1:1 |
| 50 × 70 mm | 5.0 × 7.0 cm | 1.97 × 2.76 in | 591 × 827 px | 5:7 |
| 33 × 48 mm | 3.3 × 4.8 cm | 1.30 × 1.89 in | 390 × 567 px | 11:16 |
| 30 × 40 mm | 3.0 × 4.0 cm | 1.18 × 1.57 in | 354 × 472 px | 3:4 |
| 40 × 50 mm | 4.0 × 5.0 cm | 1.57 × 1.97 in | 472 × 591 px | 4:5 |
Calculation note: 1 inch = 25.4 mm. Centimeters equal millimetres divided by 10, and pixels equal millimetres multiplied by DPI and divided by 25.4. Pixel values are rounded to the nearest whole number.
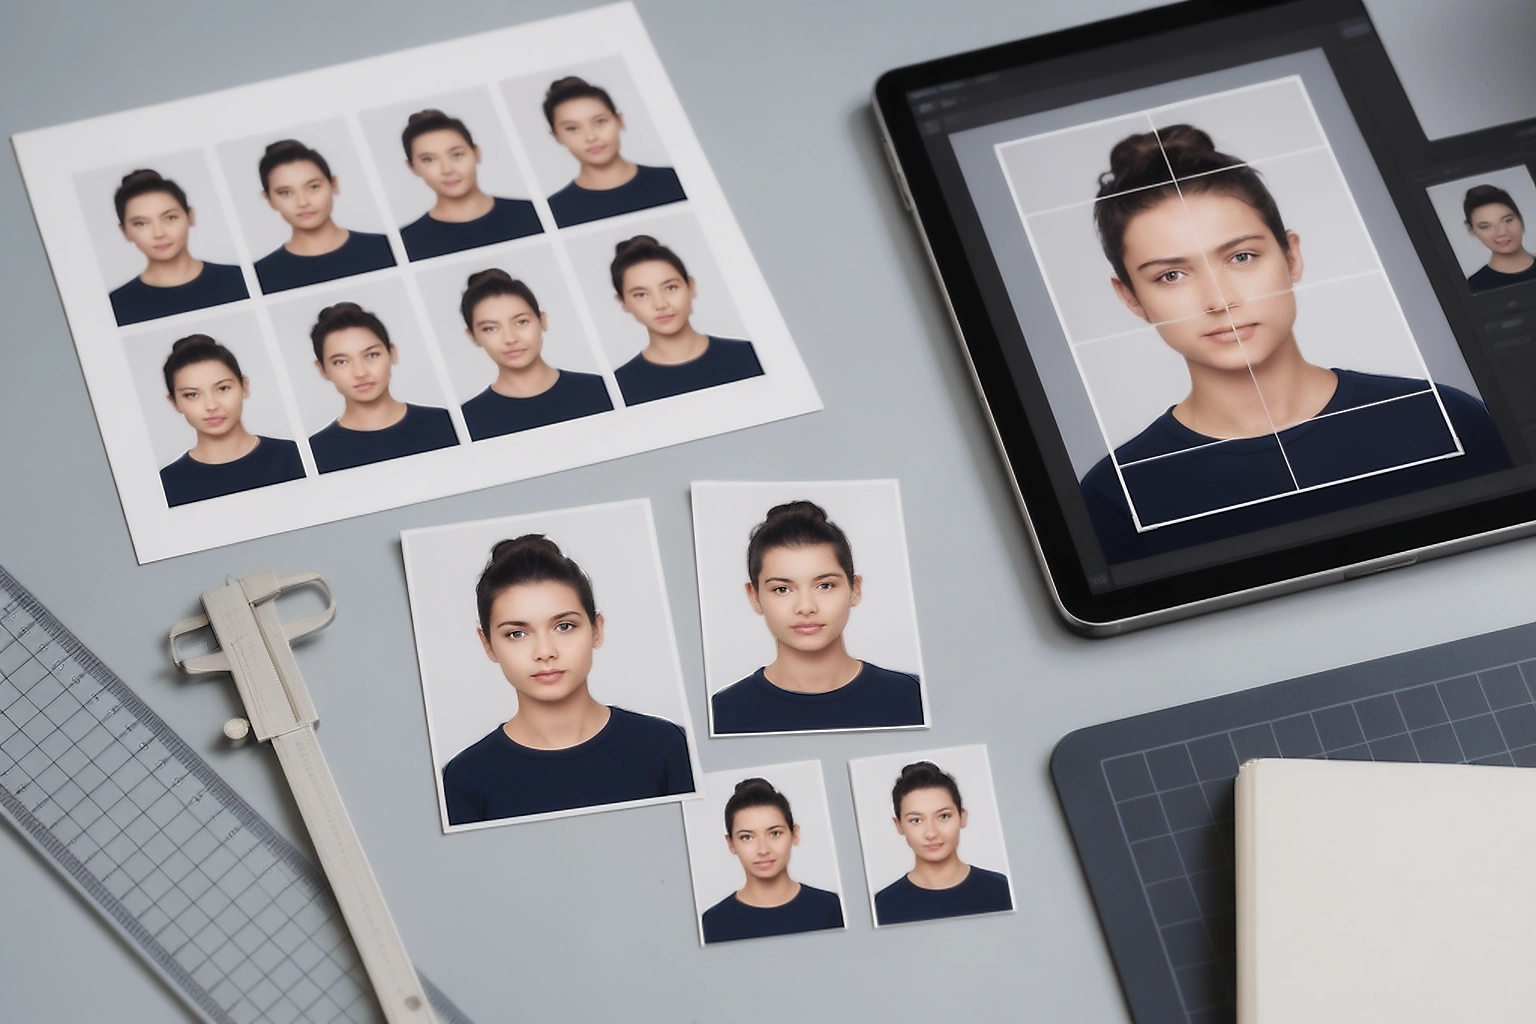
Why 2 × 2 inches is sometimes written as 51 × 51 mm
Two inches equals 50.8 mm. Official instructions sometimes round this value to 51 × 51 mm.
That creates a small difference when converting the size to pixels:
| Interpretation | Calculation at 300 DPI | Result |
|---|---|---|
| 2.00 × 2.00 inches | 2 × 300 | 600 × 600 pixels |
| 51 × 51 mm | 51 × 300 ÷ 25.4 | About 602 × 602 pixels |
For a United States passport application, follow the official instruction for the submission route. The U.S. Department of State passport photo requirements describe the printed photo as 2 × 2 inches or 51 × 51 mm, while digital instructions can use separate pixel and file requirements.
Do not describe 600 × 600 pixels as the universal digital equivalent of every 51 × 51 mm requirement.
Why similar sizes cannot be used interchangeably
Two formats can have almost the same printed area but still produce a different face position.
| Format | Photo area | Difference from 35 × 45 mm | Shape |
|---|---|---|---|
| 35 × 45 mm | 1,575 mm² | Baseline | 7:9 |
| 33 × 48 mm | 1,584 mm² | About 0.6% larger | 11:16 |
| 51 × 51 mm | 2,601 mm² | About 65.1% larger | 1:1 |
| 50 × 70 mm | 3,500 mm² | About 122.2% larger | 5:7 |
The 33 × 48 mm and 35 × 45 mm formats have almost the same area. Their shapes are still different, so resizing one into the other can change the head position and the amount of space above the head.
These area figures are calculations from the listed dimensions. They explain the crop difference and are not authority acceptance tests.
How a portrait phone photo changes during cropping
A common portrait phone image has a 3:4 ratio. If the full width is preserved, these examples show how much cropping can be required:
| Target format | Target ratio | Approximate change from a 3:4 portrait image |
|---|---|---|
| 35 × 45 mm | 7:9 | Crop about 3.6% from the total height |
| 51 × 51 mm | 1:1 | Crop about 25% from the total height |
| 50 × 70 mm | 5:7 | Crop about 4.8% from the total width |
| Canada online renewal | 2:3 | Crop about 11.1% from the total width |
These figures are geometric examples. They do not replace face height or background requirements.
The square 2 × 2 format sometimes removes much more of a portrait photo than a 35 × 45 mm crop. If the face is already close to the top or bottom of the original frame, the square crop can cut important detail and a new photograph can be safer.
How to prepare the correct passport photo size
Start with the official application route
First identify the destination authority and the way you will submit the photograph. A paper application, online upload, embassy submission and visa centre upload can follow different rules even when they use the same country name.
Save the official instruction page with the date you checked it. This gives you a reference if the portal later shows a different error.
Record the four values that control the output
Before opening an editor, write down the physical width and height, required face height, pixel dimensions or aspect ratio, and file format and file size limit.
For a printed photo, also record the number of copies, paper type and whether the photo must come from a commercial photographer.
Work from the untouched original
Keep the original camera file before cropping or compression. A large original gives you more room to create different outputs without repeatedly damaging the same compressed copy.
If the eyes are blurry, the head is cut off, strong glare hides the eyes or the face is covered by another object, a new photograph is safer than trying to generate missing detail.
Crop to the required ratio without stretching
Select the intended profile and adjust the crop around the face. The face should remain natural and should not become wider or narrower because of forced resizing.
Cropping changes which part of the frame remains visible. Resizing changes the final width and height. Compression changes the file storage size, so these actions should not be treated as the same operation.
Set digital dimensions only when the authority asks for them
If the portal specifies 1,200 × 1,800 pixels, use that requirement instead of creating a pixel size from the physical print dimensions.
A digital photo can have the correct pixel dimensions and still fail because the file is too large, the format is wrong or the photograph was edited when the authority requires an original file.
Check the saved file outside the editor
The preview inside a photo tool is not the final file received by the authority or printer. After downloading, open the file information on your phone or computer and confirm the dimensions, format and file size.
Use a clear name such as canada-online-renewal.jpg or uk-printed-photo.jpg. This does not change the image, but it reduces the chance of uploading the wrong version.
Start with a clear photograph and the selected dimensions
Already have a clear photograph? Use the Passport Photo Resizer to crop and prepare the selected dimensions. Check the current authority instructions first because the tool changes image dimensions but cannot decide whether an authority will accept the photograph.
When editing is reasonable and when a retake is safer
Some workflows allow limited preparation such as cropping, resizing or exporting a file. Other authorities specifically reject changes to brightness, contrast, sharpness, background, clothing and facial features.
A new photo is sometimes safer when:
- The eyes are blurred or partly hidden
- Strong glare blocks the eyes
- The head or chin is cut off
- The face has been changed by a filter or artificial reconstruction
For Canada, the Canada official photo editing rules describe editing as including technical changes such as brightness, contrast and sharpness, along with changes to the background or facial features. Australia official photo editing rules also say passport photos must not contain retouching such as removing moles, wrinkles or scars.
A photo preparation tool can help with measurement and file handling. It cannot promise that an authority will accept the photograph because the final decision belongs to the authority reviewing the application.
DPI, pixels and printed size
Pixels describe the number of image points in the digital file. DPI describes how densely those points are placed when the image is printed.
For example, a 600 × 600 pixel image can print at different physical sizes:
| Print density | Printed result from 600 × 600 pixels |
|---|---|
| 300 DPI | 2 × 2 inches |
| 200 DPI | 3 × 3 inches |
| 150 DPI | 4 × 4 inches |
The pixel count has not changed in these examples. Only the print density has changed.
This is why a portal that asks for pixels should be followed directly. DPI alone does not tell the portal how many pixels the uploaded file contains.
How to print the correct physical size
Check the downloaded file, not only the preview
The editor preview helps with preparation, but the downloaded file is what the portal or printer receives. After saving the file, confirm its name, format, dimensions and file size on the device.
Upload the saved file directly instead of taking a screenshot or sending it through a messaging service that can recompress the image. A second compression step can change the file size or reduce image quality.
For a printed result, open the prepared sheet and confirm that the paper size matches the printer setting. Print one test copy at 100%, measure it with a ruler and only then cut the remaining photographs.
A correct digital file can become the wrong physical size during printing if the printer scales the page.
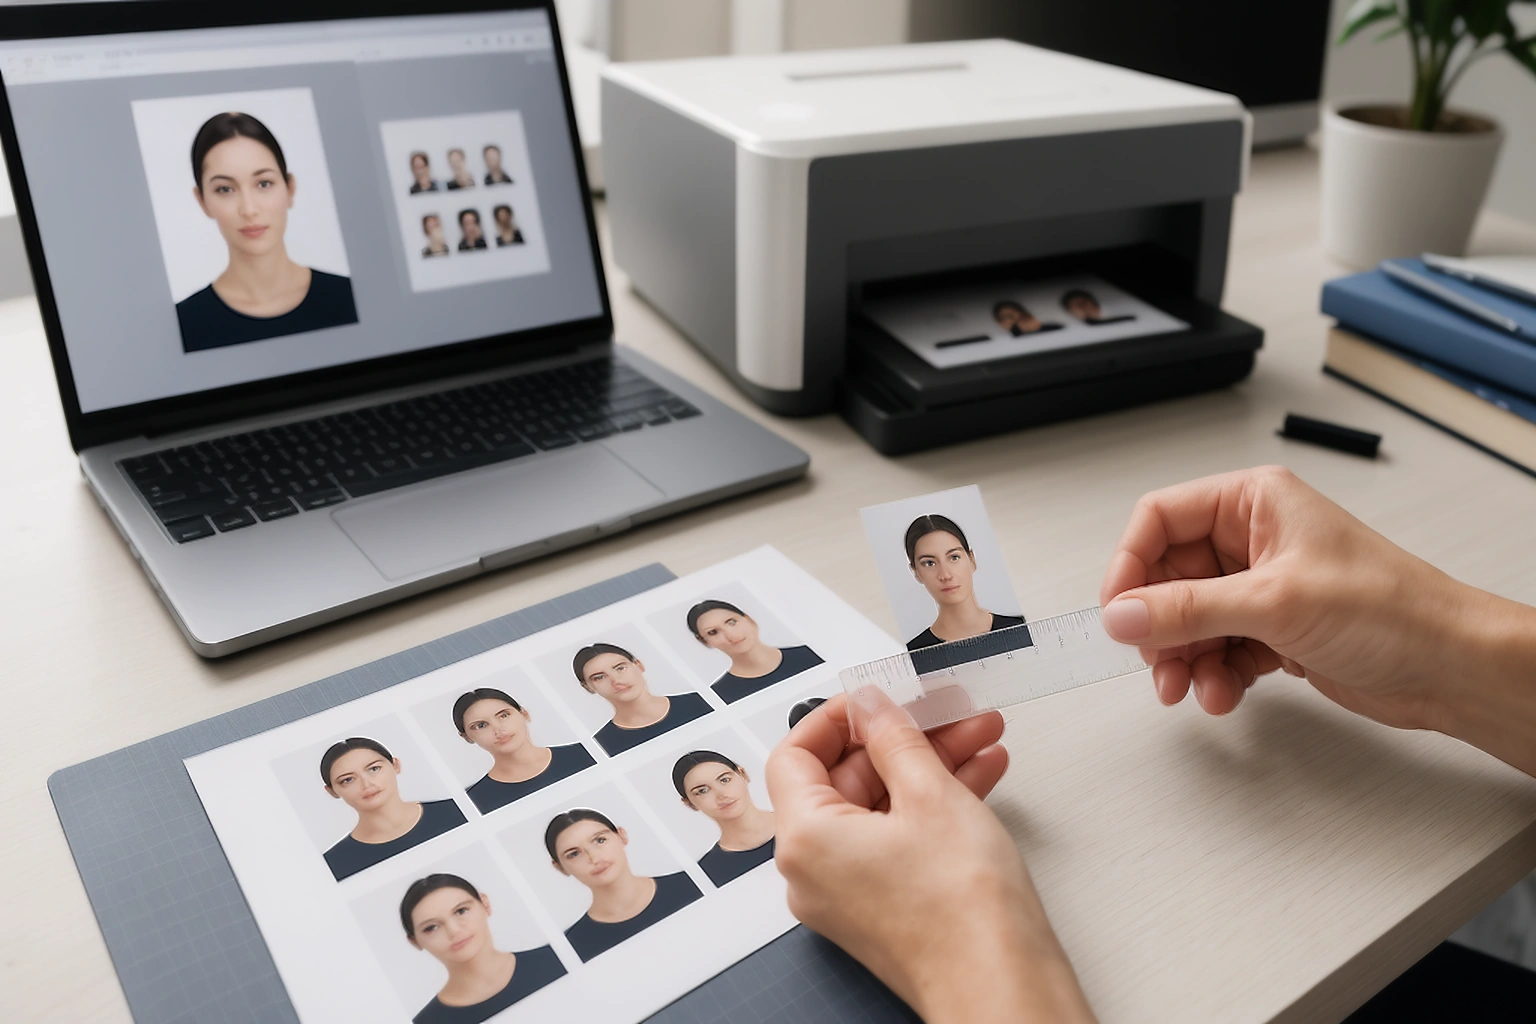
Use this final print check:
- Select the correct paper size before printing
- Choose 100% scale or Actual Size
- Disable options such as Fit to Page
- Measure one test copy with a ruler before cutting the remaining copies
Keep a small application record
Save the untouched source, the final export and the current instruction page until the application is complete. If the portal rejects the image, record its exact message and the time it appeared so the next adjustment responds to evidence instead of guesswork.
Use four short notes for each submitted file:
- Application or authority name
- Submission route, such as online, post or visa centre
- Required dimensions, face measurement and file limit
- File name and format used for the upload or print
Once the process is complete, delete copies that no longer have a practical reason to remain. Keep only the records you need for a pending application, account or support question.
The U.S. Department of State passport photo requirements describe a 2 × 2 inch printed photo on photo quality paper. The Australian Passport Office photo requirements describe heavy glossy paper of at least 200 gsm and dye sublimation printing.
India has a special passport photo workflow
The phrase “Indian passport photo size” can create confusion because the photograph requirement depends on where the application is submitted.
The current Passport Seva application booklet says that a photograph is not required for applications submitted at Passport Seva Kendra or Post Office Passport Seva Kendra. It gives a 4.5 cm length by 3.5 cm width photograph requirement for certain other collection centres.
The same booklet also says that some applicants must affix a recent colour photograph to the application form. Check the instructions for your collection centre instead of preparing a 35 × 45 mm photo automatically.
OCI applications use another profile. The official OCI photo specifications describe a square photograph of at least 51 × 51 mm, with a minimum digital size of 200 × 200 pixels, a maximum of 900 × 900 pixels and a file size limit of 200 KB.
Do not state that 35 × 45 mm is the universal Indian passport photo requirement.
China visa photos use a different rectangle
Chinese Visa Application Service Centre photo requirements describe a photo size of 48 mm high by 33 mm wide. They also specify head measurements and require a recent colour photograph with the applicant facing the camera.
The 48 × 33 mm wording can be confused with 33 × 48 pixels or with a 35 × 45 mm visa photograph. Enter the values in the same direction used by the application centre and check whether the centre has separate digital upload limits.
Do not display 354 × 472 pixels as the 300 DPI conversion of 33 × 48 mm. That pixel pair is the mathematical conversion for 30 × 40 mm at 300 DPI.
Schengen photos are not one universal format
The 35 × 45 mm format is common in Schengen visa applications. Do not describe it as one universal Schengen passport photo size because instructions can differ between Member States, consulates and visa application centres.
Netherlands government photo requirements give a 35 × 45 mm format for Dutch passport and identity photographs. France Visas photo guidance describes a width between 35 and 40 mm and a face size between 32 and 36 mm.
Check the checklist for the country where the application will be submitted.
Which tool should you use
Use the tool according to the problem you are trying to solve:
| Your situation | Recommended page | What it should do |
|---|---|---|
| You do not know the current requirement | Passport Photo Requirements | Show the authority rule and source |
| Your photo is good but the dimensions are wrong | Passport Photo Resizer | Crop and resize to the selected profile |
| You want to review the result | Passport Photo Checker | Check measurable settings and visible issues |
| You need several printed copies | Passport Photo Print Sheet Maker | Arrange the final photo on a printable sheet |
A resizer should not replace a country requirements page. A checker can identify measurable problems, but it cannot promise that an authority will accept the photograph.
If you need a broader passport photo maker, start with the main preparation workflow and select the document before editing.
sometimes asked questions
What is the normal passport photo size?
There is no single normal size for every country. The 35 × 45 mm format is common in many European applications, while the United States uses 2 × 2 inches and Canada uses 50 × 70 mm for physical passport applications.
What is 35 × 45 mm in centimeters?
A 35 × 45 mm photo is 3.5 × 4.5 cm. At 300 DPI, the mathematical pixel conversion is approximately 413 × 531 pixels.
Is 2 × 2 inches the same as 51 × 51 mm?
They are practically treated as the same passport photo format. Two inches equals 50.8 mm, so you will sometimes see it written as 51 mm.
Is 600 × 600 pixels always a 2 × 2 inch passport photo?
It prints as 2 × 2 inches at 300 DPI. The same 600 × 600 pixel file prints larger or smaller at a different print density.
Can one passport photo be used for every country?
No. Countries can use different outer dimensions, face measurements, file limits, paper rules and editing restrictions even when the photographs look similar.
What should I do if the portal rejects a photo with the correct dimensions?
Check the aspect ratio, file format, file size, face position, background, image quality and current application instructions. Do not keep changing random settings because the error can be caused by a separate requirement.
Final checklist
Before submitting or printing, confirm:
- The authority and application route are correct
- The width and height are in the correct order
- The face measurement follows the selected requirement
- The saved file matches the required format, pixels and file size
Keep the untouched original, the final export and the official instruction page until the application is complete.
Official sources checked
These are the authority and government pages checked while preparing this guide. Read the relevant source again before submitting because requirements can change.
Last checked: August 29, 2026