Most of the time, the upload button is the last step. That is why a small photo problem can become frustrating. A picture can look perfectly fine in your gallery and still fail when the application checks its shape, file details, or photo rules.
This guide shows you what to inspect before you submit and what to do when something is wrong.
The checks that deserve your attention
Do not judge the images with no selectable text by asking whether it looks nice. Application checks are narrower. They sometimes care about how the face appears, how the photo is framed, and whether the saved file fits the technical rules. The exact checks depend on the application you are completing.
| Review area | What to inspect | Why it can cause trouble |
|---|---|---|
| Face | Visible facial features and the required position | A blocked or poorly positioned face can affect identification |
| Crop | Head position, visible space, and the edges of the image | A tight crop can remove an area required by the form |
| Background and light | Background, shadows, glare, and uneven lighting | Dark areas or glare can hide the outline of the face |
| Saved file | Format, pixel dimensions, file size, and visible quality | The exported file can not be the same as the editor preview |
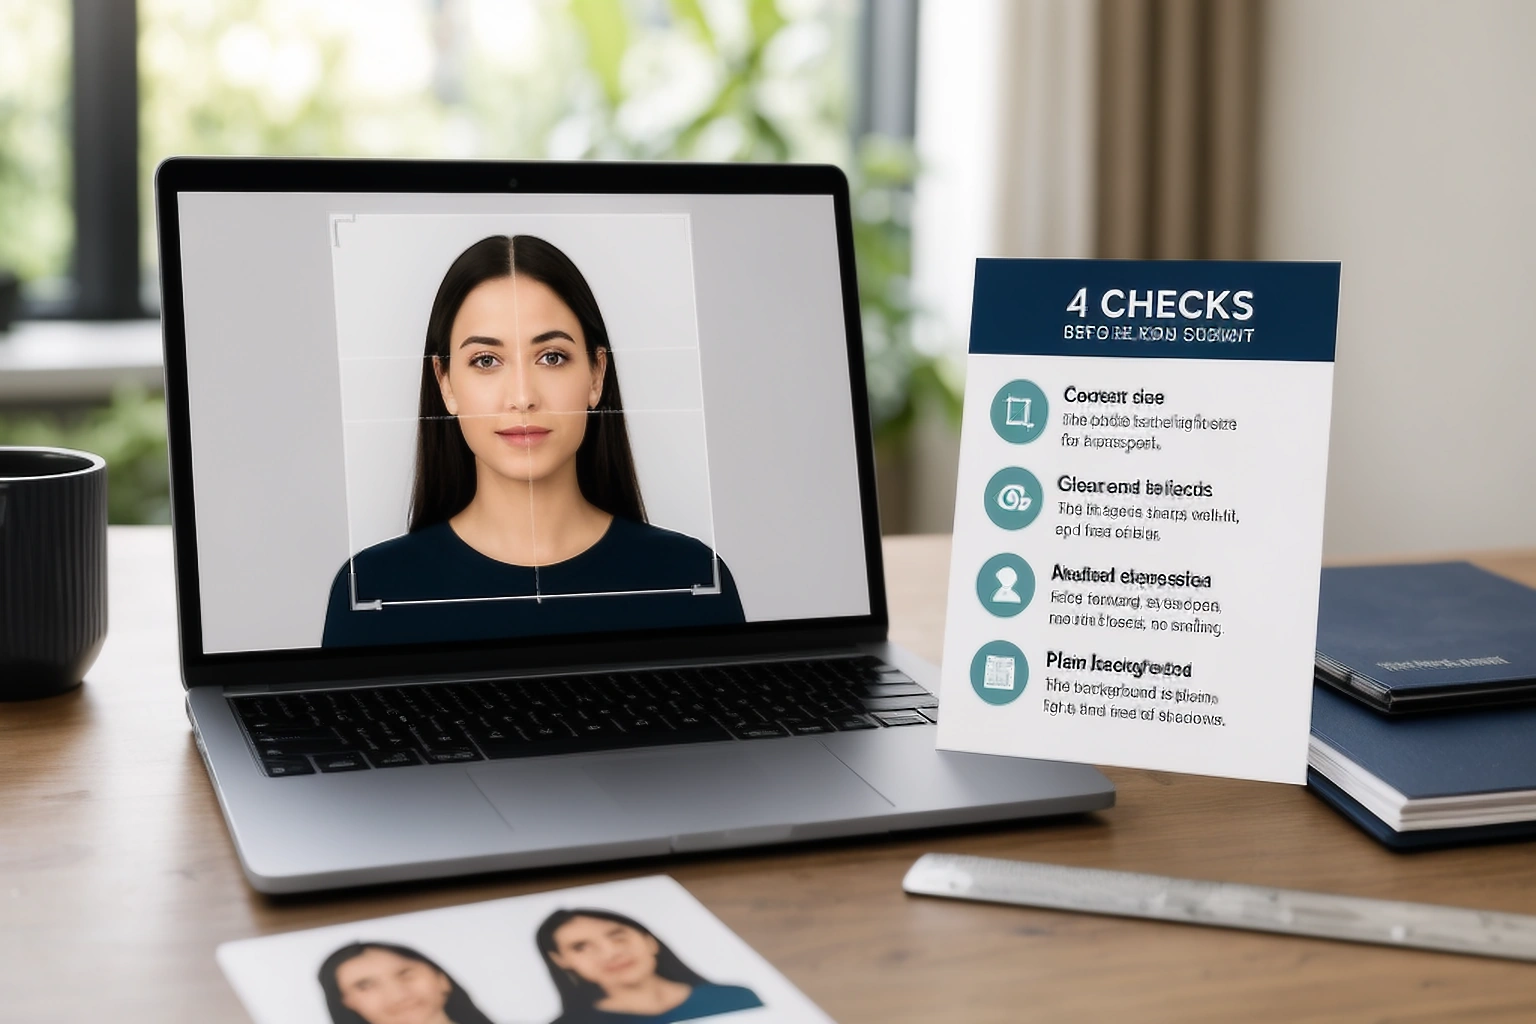
These are four separate checks. Passing one does not prove that the other three are correct. A clear face can still sit inside the wrong crop, and a correctly sized file can still contain a blurred portrait.
Why file size cannot fix a poor photograph
File size is easy to focus on because it appears as a simple number. A smaller number does not repair blur, glare, a cut off head, or an unsuitable background. Compression changes how the file is stored. It cannot bring back detail that was never captured.
Start with the portrait before changing the file size. If the original image is weak, taking another photo is sometimes safer. When the portrait is suitable, make the smallest permitted change so the file reaches the required limit without losing visible detail.
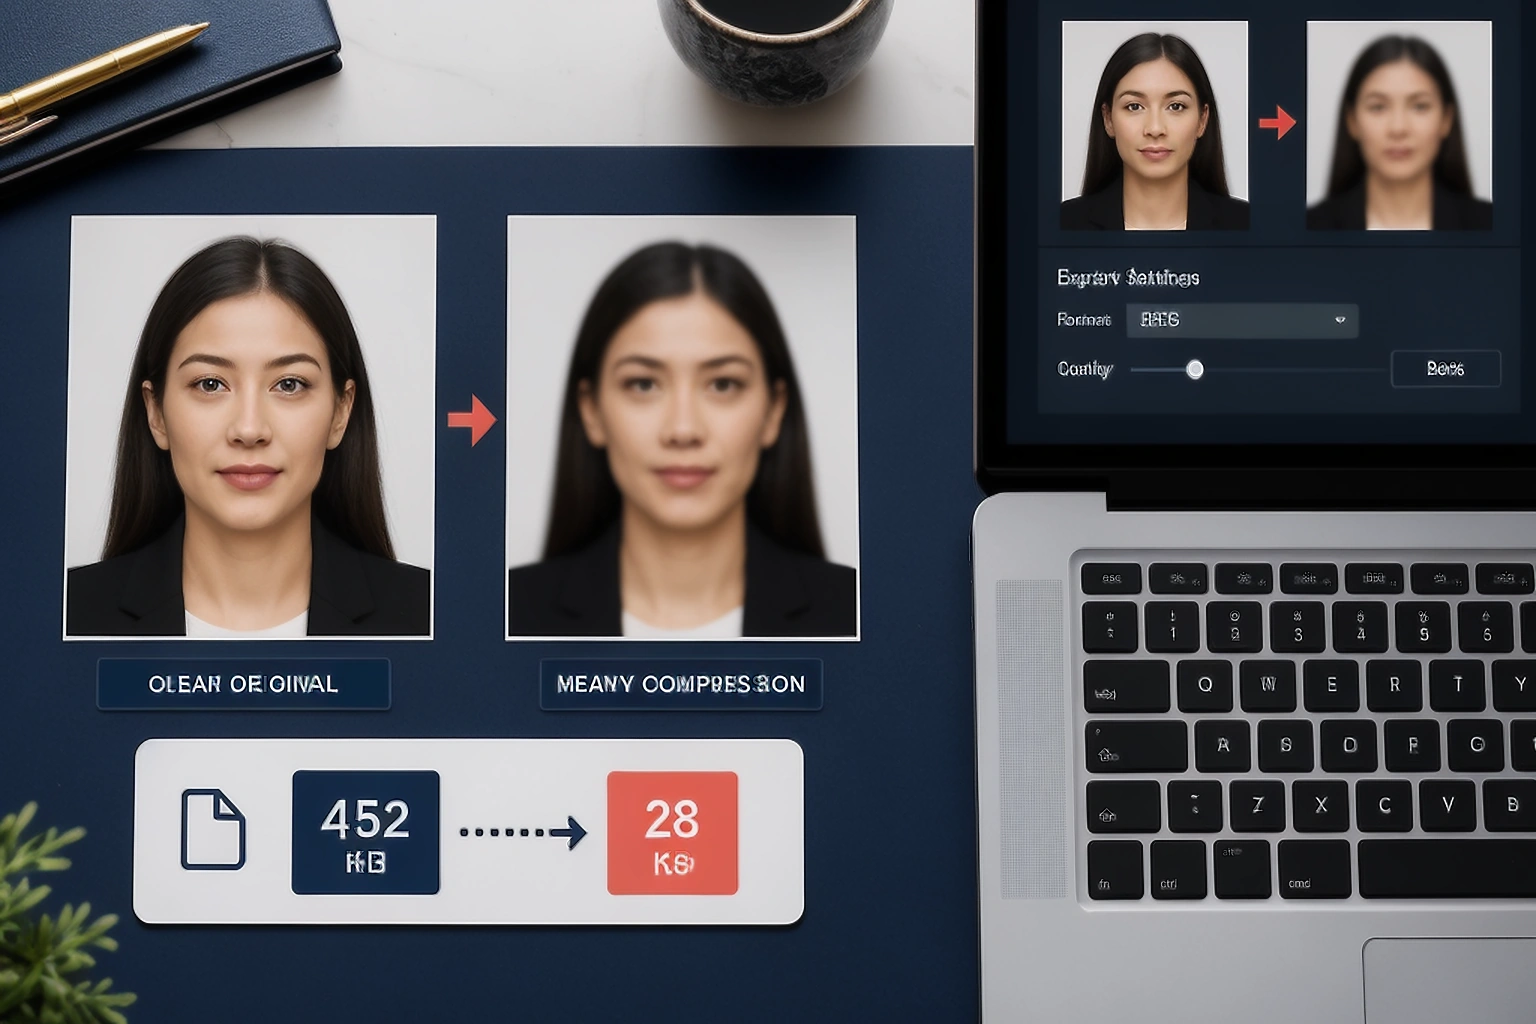
Practical note: A photo can be technically small enough and still be difficult to recognise. That is why the KB value should be checked together with the visible detail of the face, not treated as the only sign of a good upload.
How to check your passport photo before submission
On a rushed application, the easiest choice is to upload the first file that looks acceptable. A better review asks one question at a time. That way, you know whether the next change should be made to the portrait, the crop, or the saved file.
Match the photo with the correct application
Open the current instructions for the application before checking the image. Confirm that the selected profile belongs to the form you are completing. A photo prepared for one route can have the wrong shape or file limit for another route.
Do not rely on a remembered rule because application instructions can change.
Start with the clearest original file
Use the original camera file when possible. Screenshots and files shared through messaging services can lose quality or change the file details. If the face is already blurry, dark, or partly hidden, a checker can point out the problem but cannot restore the missing detail.
Keep the original file until the application is finished. It gives you a clean starting point if another version is needed.
Review the portrait before changing it
Look at the face first. Check the visible facial area, head position, crop, background, and lighting. Do not use compression to hide a portrait problem because reducing the file size will not correct the original image.
If the issue is only a small crop adjustment and the application allows it, make that limited correction. If the image needs missing detail or a changed face, use another photo.
Open the saved file after export
Run the review again after making a permitted change. Then open the downloaded file outside the editor. Confirm the format, dimensions, file size, and visible quality because the application receives the saved file rather than the earlier preview.
Do not submit a screenshot of the editor.
What to fix and when to take a new photo
| Problem found | What you can try | When a new photo is safer |
|---|---|---|
| The crop is slightly loose | Adjust the frame while keeping the required facial area visible | The original already cuts off the head or chin |
| The file is too large | Export again with the permitted dimensions and compression | The face becomes soft before the required range is reached |
| The background or lighting needs attention | Use a correction only when the current instructions allow it | The change would alter the face or the authority requires an unchanged photo |
| The face is blurry or partly hidden | Look for a clearer original source | Important facial detail is already missing from every available copy |
Not every warning needs the same response. In most cases, a loose crop can be adjusted when the original information is still present. A blurred face or covered eye is different because the missing detail cannot be recreated honestly.
My rule is simple. Correct the frame when the original information is still there. Take another photo when the file asks software to invent or restore something that the camera never captured.
What an online checker cannot decide
A useful checker can help with two parts of the job. It can inspect visible parts of the image and measurable file details. It cannot see a rule that is missing from its selected profile, and it cannot replace the review carried out by the receiving authority.
| A checker can review | What the result can help you decide |
|---|---|
| Image dimensions and shape | Whether the file needs another crop or output setting |
| Face position and visible area | Whether the head is placed correctly or a new photo is needed |
| Blur, glare, and lighting signals | Whether the original image is clear enough to continue |
| Format and file size | Whether the saved file should be exported again |
A result such as “review needed” is a reason to look closer. It is not a government decision and it is not proof that the application will be accepted.
The file you upload deserves one last look
The editor preview is not the same thing as the exported file. A download can carry a different extension, pixel size, or file size from what you expected. Open the saved file outside the editor and check these four details:
- The file format matches the application instructions.
- The width and height match the requested dimensions.
- The file size falls within the stated range.
- The face and background still look clear at normal viewing size.
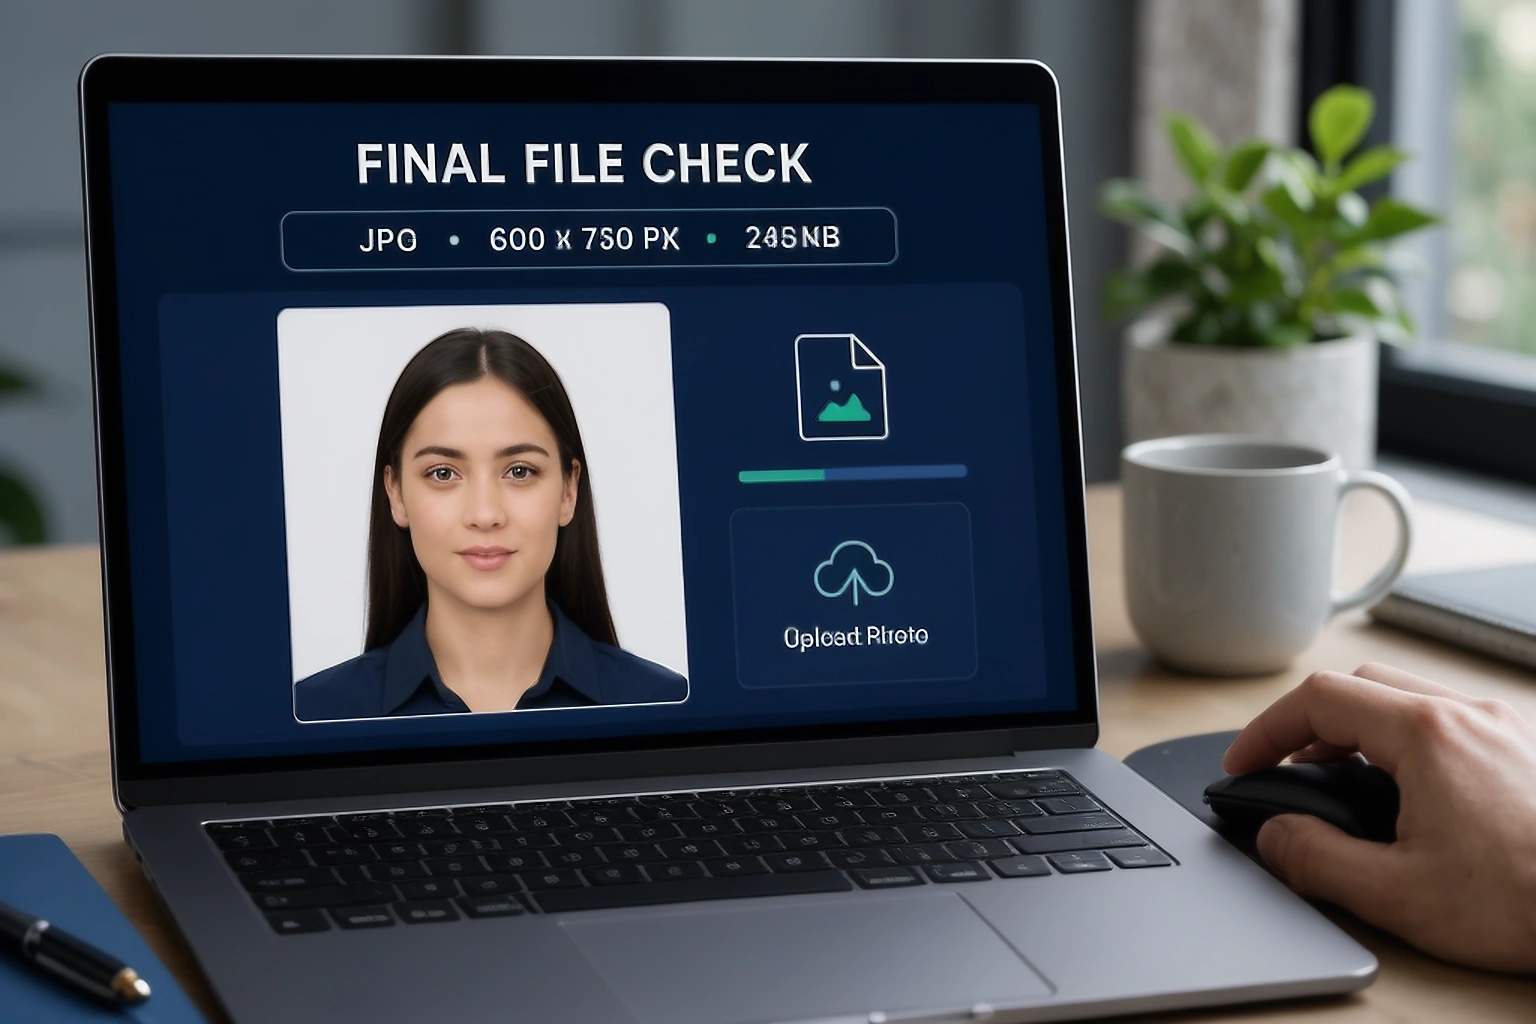
Do not upload a screenshot of the preview. Upload the saved file that you checked. If the portal shows an error, save the wording of the message and correct that issue first. Changing several settings at once makes it difficult to know what caused the problem.
A four point check before you click submit
The final review is short when each check has a clear purpose. Use this list after the image has been prepared and the final file has been downloaded.
- The selected profile matches the current application instructions.
- The face and crop follow the visible requirements.
- The background and lighting are suitable for that application.
- The saved file has the required format, dimensions, and file size.
If all four checks agree, the file is ready for submission from a preparation point of view. The receiving authority still makes the final decision.
sometimes asked questions
How do I check a passport photo before submission?
Start with the current instructions for your application. Review the face, crop, background, and lighting first. Then open the saved file and check its format, dimensions, and file size.
Can an online passport photo checker guarantee acceptance?
No. A checker can identify visible or measurable problems, but the receiving authority can apply rules that are not included in the selected profile. Use the result as a preparation check rather than a final decision.
What should I do if my passport photo upload fails?
Read the exact error message before changing the file. It can point to the format, dimensions, file size, or image quality. Correct that specific issue and then open the saved file again before uploading it.
Do I need to check the downloaded file again?
Yes. The editor preview is not always the same as the exported file. Open the downloaded copy and confirm the format, dimensions, file size, and visible quality before submission.
Check the file you are actually submitting
The safest time to find a photo problem is before the portal does it for you. Review the portrait first and then review the saved file. If a warning points to missing detail, do not try to make the image look acceptable through stronger editing. Start with a better original and let the current instructions guide the final upload.
Check your passport photo before submission
Use the PassportPhotoBox checker when you want a second review of the visible image and saved file. Keep the official instructions open while you check the result so you can compare the warning with the rule that applies to your application.
Official sources checked
Photo rules can change between countries and application routes. The official pages below were checked on August 30, 2026. They are included to show why the current instructions for your own application should stay open during the final review.
- United States Department of State digital photo instructions
- GOV.UK digital passport photo instructions
- Government of Canada passport photo instructions
- Australian Passport Office photo instructions
The figures in the comparison table come from the linked official pages. They are examples of different application rules and should not be combined into one universal checklist.