The right order for a usable signature upload
Start with a clear image of your real signature and remove most of the unused paper around it without cutting any stroke. Match the dimensions required by the current application first, then bring the file into its stated KB range while checking that thin lines, dots and joins remain visible. Do not keep compressing simply to make the number smaller, because some portals specify both a minimum and maximum file size.
Why a signature upload gets rejected
A signature can fail even when the writing itself is fine. The problem can be a loose crop, a file that is too heavy, a JPG with the wrong dimensions, an image below the minimum KB, or compression that turns a thin stroke into a grey blur. The useful target is the whole combination of width, height, format, file size and readable ink.
Current examples show why a remembered preset is not enough. A 2026 scanning guide hosted by IBPS lists 140 × 60 pixels as a preferred signature size and 10 KB to 20 KB as the file range. SSC 2026 examples use an approximately 6 cm × 2 cm signature in JPEG/JPG and a 10 KB to 20 KB range.
| Source | Dimensions | File rule |
|---|---|---|
| 2026 scanning guide hosted by IBPS | 140 × 60 px preferred | 10 KB to 20 KB |
| SSC Combined Hindi Translators Examination 2026 | About 6 cm × 2 cm | JPEG/JPG, 10 KB to 20 KB |
| SSC GD Constable 2026 | About 6 cm × 2 cm at the stated resolution | JPEG/JPG, 10 KB to 20 KB |
These are examples, not a universal signature preset. Search results and old tutorials can remain visible after an application cycle has ended. The current notice and portal for your form control the final export.
Crop the paper before you resize the signature
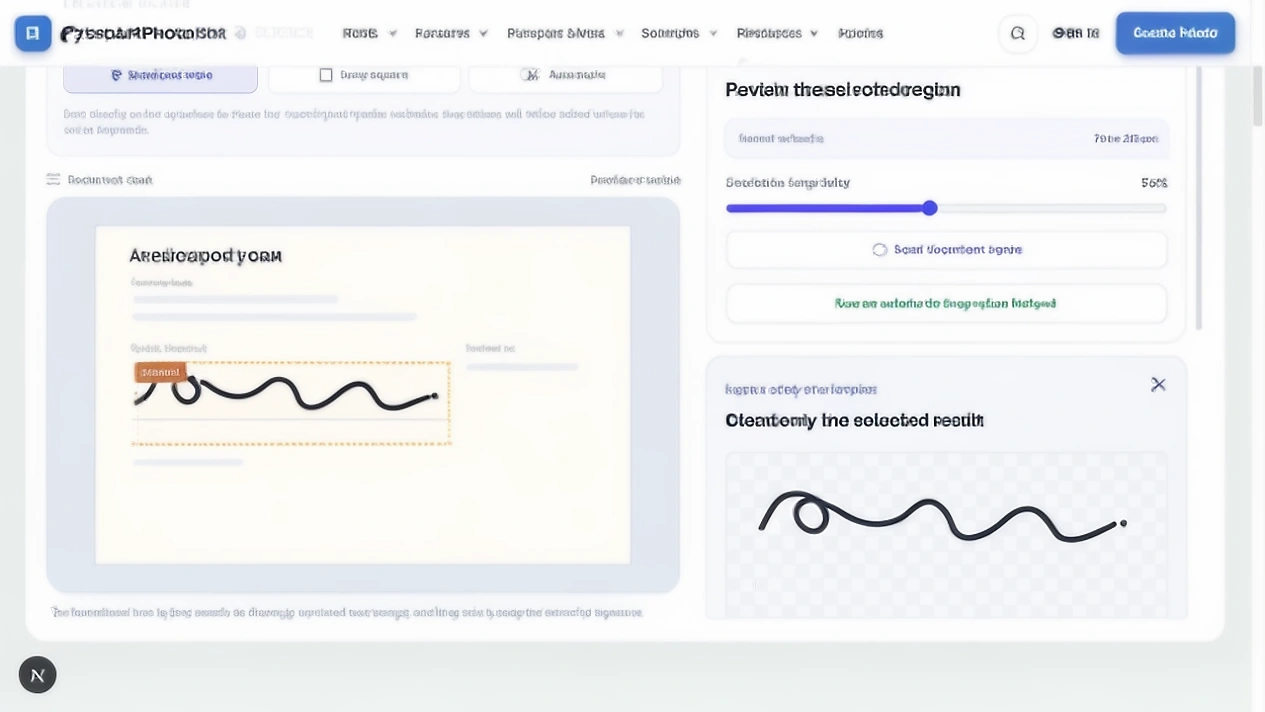
Crop the blank paper around the handwriting before setting the final size. Leave a narrow, even margin so the first or last stroke does not touch the edge, then remove borders, labels, dates and unrelated text. The crop should contain the genuine ink and a little breathing room, not an entire form.
Look at the crop at normal viewing size. If the signature appears small inside a large white rectangle, the later 140 × 60 px export will make it even smaller. If the crop touches the ink, expand it slightly; do not repair a missing tail after export.
Why white space changes the final signature quality
White space does not damage the ink by itself, but it uses part of the output canvas. If the original crop is mostly paper, the handwriting occupies fewer pixels after the fixed dimensions are applied. The result can satisfy the width and height check while looking miniature in the upload field.
You do not always need a scanner
A phone photo can work when the paper is flat, the camera is parallel to it and the light is even. Keep the phone steady, avoid a strong shadow from your hand and make sure the whole signature is sharp. Turn off portrait blur, beauty effects and aggressive document filters because they can soften or reshape the pen edge.
If the notice specifically asks for scanning, follow that instruction. The IBPS hosted guide also says related scanned uploads should use at least 200 DPI and True Color. That does not replace the pixel and KB rules; it describes how to capture a clearer source.
Start with the writing method the notice asks for
If the notice says white paper with black ink, start there. A clean black ink source is easier to separate from the paper and easier to compare with the mark you can reproduce later. If it permits blue ink or gives another method, follow the current wording instead of changing the colour to match a remembered example.
Write the signature at a natural size on the requested paper. A very small mark creates a weak source before resizing begins, while a decorative oversized mark can look unlike the signature used elsewhere.
Use the signature you can reproduce later
Some exam workflows compare the uploaded signature with a signature written on an attendance sheet, call letter or later document. The current IBPS hosted guidance warns that a mismatch can disqualify an applicant. Treat the upload as a record of your real signature, not a place to try a more elaborate version.
- Use the signature you write in normal situations.
- Keep the first and last strokes in the same order.
- Avoid a new flourish that you cannot repeat under pressure.
- Keep the clean source until the application process is finished.
Do not use a generated signature for an official exam upload
A text to signature tool can create a decorative image for a mockup, design or workflow that explicitly accepts a graphic. That is different from an official exam upload that asks for the candidate’s handwritten signature. Do not replace your real mark with a generated style just because the result looks neat.
Dimensions first, KB second
Width and height describe the canvas. Kilobytes describe how the canvas is stored. Create the required dimensions first, then adjust compression until the file sits inside the stated range. If the portal asks for 140 × 60 pixels and 10 KB to 20 KB, both conditions belong to the target.
The two SSC and IBPS examples also show why a matching KB value does not prove matching dimensions. A 15 KB file can have a different canvas, aspect ratio or amount of white space. Use the requirement as a set, not as one number.
| Step | Decision | Why it comes here |
|---|---|---|
| 1 | Read the current notice | It defines the live dimensions, format and size range. |
| 2 | Crop the clean source | It keeps the handwriting large enough inside the output canvas. |
| 3 | Set width and height | It creates the portal’s requested pixel shape. |
| 4 | Adjust compression | It brings the finished canvas into the KB range. |
A 6 KB signature is not better than a 12 KB signature when the minimum is 10 KB
If the portal states 10 KB to 20 KB, a 6 KB file is outside the rule even if it looks small and tidy. A lower number is not an achievement when it breaks the lower boundary. Heavy compression can also remove thin strokes while creating that smaller number.
Choose a file inside the complete range and check the visible mark. When a notice gives only a maximum, stop once the file is safely under that ceiling and the handwriting remains clear; do not keep pushing the quality down without a reason.
What each requirement controls
| Requirement | What it controls | What to inspect |
|---|---|---|
| Width and height | The pixel canvas and aspect ratio | The signature is not stretched, squeezed or miniature. |
| KB range | The stored file weight | The number sits inside the complete minimum and maximum. |
| JPG or JPEG | The delivery format | The downloaded extension and file type match the notice. |
| Alignment | How the signature sits in the field | The mark is horizontal and not clipped at an edge. |
| Clarity | Whether the writing can be read | Thin lines, dots, joins and tails survive the export. |
Do not confuse DPI with pixel dimensions
DPI describes how digital pixels map to a physical size. Pixel dimensions describe the actual width and height of the image. A DPI value alone does not guarantee the portal’s required canvas, aspect ratio or KB range.
SSC GD 2026 gives an approximately 6 cm × 2 cm signature example at 300 DPI. That detail belongs beside the other requirements. It does not mean that changing the DPI metadata on an existing small image creates new pen detail.
Do not introduce a transparent background when the portal wants JPEG
Transparency and extraction are separate decisions. A transparent PNG can be useful when a document workflow accepts it, but a portal that asks for JPEG/JPG expects the format and background it states. Do not convert the clean source to a transparent file and then assume it is an acceptable replacement.
Keep a clean master first. Choose white paper or transparent output for the next task, then export the requested delivery format. The resizer’s “White paper” and “Remove background” choices solve different problems.
What does a miniature signature mean in practice?
A miniature signature is not simply a file with small dimensions. It is a mark that takes up too little of the required field to be read or recognised. Excessive blank paper, a crop that is too wide or a source written very small can all create the same result.
Compare the signature with the actual upload box, not only with a zoomed editor preview. If the mark looks like a thin dark dash at normal size, return to the clean source and crop closer without cutting the handwriting.
Blur cannot be repaired by increasing contrast
Contrast can make an existing edge easier to see, but it cannot restore a pen stroke that the camera or scanner never captured. Repeated JPEG saves, motion blur and a screenshot of a messaging app preview can turn a narrow line into a soft patch.
Use an enhancer only for a light adjustment to existing ink. If the first loop, final tail or a small dot disappears in the source, choose a clearer source rather than sharpening until the edge looks artificial.
If the portal rejects the signature, check this first
| Portal message or symptom | First check | Next action |
|---|---|---|
| File too large | Saved file size and format | Use the clean source and reduce compression once, then inspect the strokes. |
| File below minimum | The lower KB boundary | Increase quality or export from a larger clean source. |
| Wrong dimensions | Saved width and height | Return to the exact pixel values in the current notice. |
| Signature blurred or miniature | Crop and source clarity | Crop blank paper closer or create a clearer source. |
| Wrong file type | Downloaded extension | Export JPG/JPEG when the portal requests it. |
Two signature upload examples
Example: your signature is 42 KB but the portal wants 10 KB to 20 KB
Keep the original scan. Crop the paper around the complete ink, set the required dimensions and choose JPG/JPEG. Reduce the file toward the middle of the range, then open the saved export. If the tail or small joins are breaking, return to the original crop and improve the source instead of compressing the 42 KB export again.
Example: the portal accepts the file but the signature looks tiny
Passing the file size check does not fix a loose crop. Open the source, remove more blank paper while keeping a safe margin, and export the same required dimensions again. A smaller crop can make the same genuine handwriting use more of the fixed canvas.
Sometimes the source should be recreated
Create a new signature source when the ink is smeared, out of focus, cut off, too light to read or mixed into a damaged screenshot. A new clean mark on the paper requested by the notice gives you a truthful source for the later crop and resize.
- The first stroke or final tail is missing.
- The pen line is too faint to separate from the paper.
- The source has been compressed until edges break apart.
- A previous edit changed the appearance of the handwriting.
Do not use AI to redraw an official signature
AI can create or reconstruct visual marks, but redrawing a signature changes the source instead of preparing it. Do not ask an image model to complete a missing loop, smooth a tail or imitate a person’s writing for an official application. Use a new genuine handwritten source when the original cannot be read.
Save the clean source because the next application can ask for a different size
Keep the original scan and a clean cropped master separately from the final portal export. The next application can ask for different pixels, a different background or a different KB range. A clean master lets you create a new version without reducing an already compressed file again.
Give the master a clear name and keep it in a private folder. Delete extra copies when the application and retention choice allow it.
Open the signature at the size you will actually submit
Zoom can make a weak signature look better than it is. Open the saved file at normal viewing size and, when possible, compare it with the size of the portal field. Inspect the first stroke, last stroke, dots, loops and joins without relying on a large editor preview.
Then verify the file extension, width, height and KB. The portal receives the downloaded file, not the working canvas inside the editor.
Resize a signature with PassportPhotoBox
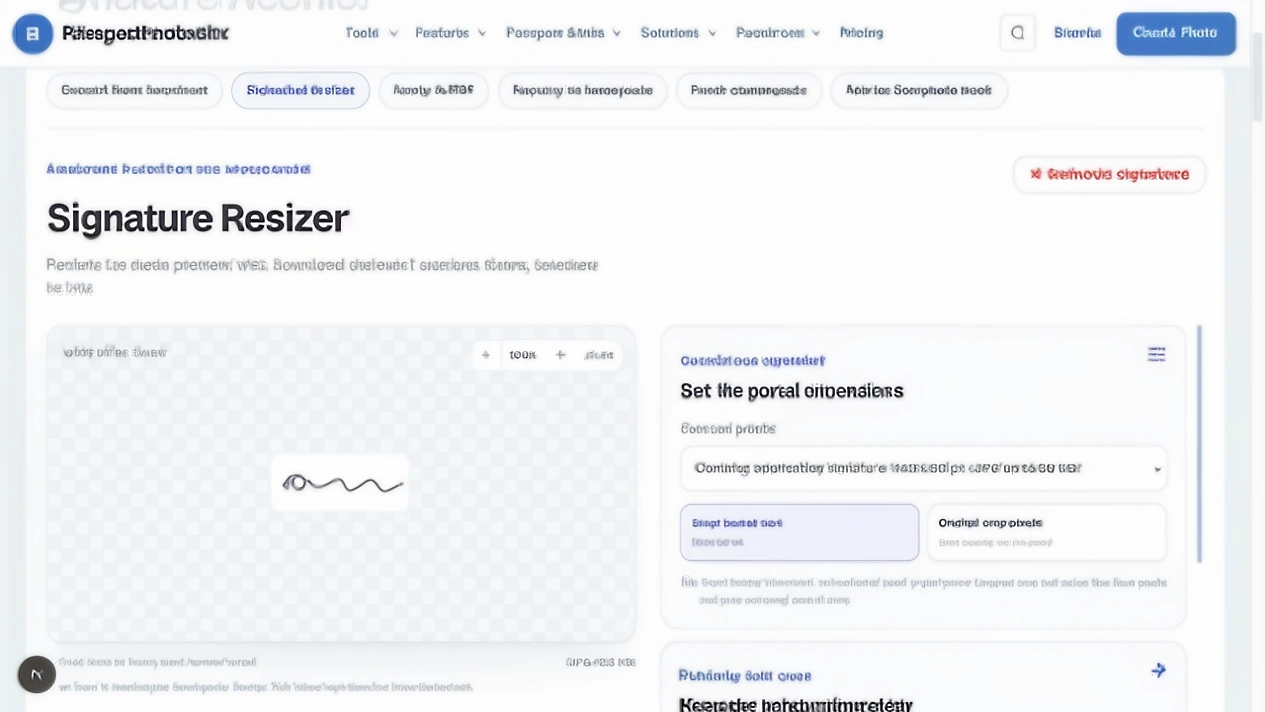
The live Signature Resizer is built around the decisions above. It accepts a JPG, PNG or WebP source and keeps the preparation controls separate so you can inspect the output before downloading it.
- 1.Upload a clear signature image with Choose signature image.
- 2.Use the Common profile menu or select Custom dimensions from the current notice.
- 3.Choose Exact portal size when the width and height are known; use Original crop pixels only for a source or archive copy.
- 4.Review Crop the signature automatically, Clean paper background, ink colour and the safe margin.
- 5.Choose JPG for portal uploads, select the KB target and review the preview.
- 6.Use Download JPG, then inspect the saved file at the size you will submit.
Passing the file size check does not prove the signature is usable
A portal validator can check an extension, dimensions and KB value without deciding whether a human can recognise every stroke. Treat those as separate checks. A green technical result is helpful, but it is not permission to submit a mark that has turned into a blur.
Keep readability as the deciding quality check after the mechanical requirements pass. If the saved signature is hard to recognise, return to the source and crop or recapture it.
A descriptive filename reduces upload mistakes
Name the final export after the application and field, such as ssc-2026-signature-140x60.jpg. A clear filename makes it easier to choose the signature when a form asks for several files and reduces the chance of putting a photo in the signature field.
Do not put unnecessary personal details in a filename that could be shared. Keep the private master and the upload copy separate.
Do not crop a signature from another signed PDF unless you have a clean source
A signature inside a signed PDF can sit beside names, dates, account numbers, lines and other people’s information. Cropping that region can carry the document around the signature into the new file, and the source context can be sensitive.
Use a clean scan of your own signature when possible. If the signature is inside a scanned page, use Signature Extractor first, review the crop, then resize the clean result for the next authorised workflow.
When Signature Extractor belongs first
Use the resizer when you already have a separate signature image. Use the extractor when the ink is still inside a scanned document and needs to be separated from printed text, dates, lines or personal details.
| Starting point | First tool | Next step |
|---|---|---|
| A clean signature image | Signature Resizer | Set dimensions, format and KB. |
| A signature inside a scanned form | Signature Extractor | Review the clean output, then resize it. |
| A prepared image and a PDF | Apply Signature to PDF | Place it only where that method is authorised. |
| A need for a decorative image for an informal use | Text to Signature | Confirm the receiving workflow accepts an image. |
Signature resize questions
What size should my signature be for an online application?
There is no single size for every portal. One 2026 guide hosted by IBPS prefers 140 × 60 pixels and 10 KB to 20 KB, while current SSC examples ask for about 6 cm × 2 cm in JPEG/JPG and 10 KB to 20 KB. Read the notice for your exact application before exporting.
How do I resize a signature to 10 KB to 20 KB?
Start with a clear crop, set the dimensions and JPG format from the current notice, then adjust the compression target until the saved file sits between 10 KB and 20 KB. Open the saved image and check that the thin strokes, dots and joins are still visible.
Why is my signature below 20 KB but still rejected?
A file can be under a maximum and still fail because it is below a minimum, has the wrong dimensions, uses the wrong format, includes too much paper or looks blurred or miniature. Check the complete requirement rather than the KB number alone.
Should I resize the image or compress it first?
Resize the clean crop to the required width and height first. Compress the finished canvas afterward so the file size step does not hide a wrong aspect ratio or excessive blank paper.
Can I use a generated signature for an exam application?
Do not use a generated signature unless the current authority explicitly accepts that type of mark. An exam upload should use your genuine signature and the method stated in the notice; a decorative image made from typed text is a different workflow.
Can I use a phone photo instead of scanning my signature?
Yes, when the instructions do not require a scan. Keep the paper flat, use even light, hold the camera parallel to the page and check that the complete signature is sharp before cropping it.
Prepare the exact signature file
Use the current portal values, then review the saved file before you upload it.
The signature should get smaller without becoming different
A good signature resize preserves the genuine mark while adapting its crop, dimensions, format and file weight to the current application. Read the notice, crop the paper, set the canvas, adjust the KB and inspect the saved file in that order.
When the source is unreadable, recreate your own signature on the requested paper. When the signature is inside a document, extract it with permission before resizing. The goal is a usable application file that still represents the same signature.
Official and technical guidance checked for this article
Application requirements and signing rules change by organisation, country and workflow. Open the source that matches your use case, then read the current notice before preparing the final file.